
HBase安装
下载安装包
从HBase官网下载最新稳定版,目前为hbase-1.2.6-bin.tar.gz解压安装包
将安装包解压至/usr/local目录下,并重命名为hbase,并给hbase目录用户和所属组都改为hadoophadoop@ubuntu16:/usr/local$ sudo chown -R hadoop:hadoop hbase hadoop@ubuntu16:/usr/local$ ll | grep hbase drwxrwxr-x 9 hadoop hadoop 4096 8月 19 19:59 hbase/ hadoop@ubuntu16:/usr/local$ cd hbase/ hadoop@ubuntu16:/usr/local/hbase$ ll total 356 drwxrwxr-x 9 hadoop hadoop 4096 8月 19 19:59 ./ drwxr-xr-x 15 root root 4096 8月 19 19:42 ../ drwxr-xr-x 4 hadoop hadoop 4096 1月 29 2016 bin/ -rw-r--r-- 1 hadoop hadoop 129552 5月 29 14:29 CHANGES.txt drwxr-xr-x 2 hadoop hadoop 4096 8月 19 19:58 conf/ drwxr-xr-x 12 hadoop hadoop 4096 5月 29 15:20 docs/ drwxrwxr-x 7 hadoop hadoop 4096 8月 19 19:59 hbase-tmp/ drwxr-xr-x 7 hadoop hadoop 4096 5月 29 14:53 hbase-webapps/ -rw-rw-r-- 1 hadoop hadoop 261 5月 29 15:31 LEGAL drwxrwxr-x 3 hadoop hadoop 4096 8月 19 19:41 lib/ -rw-rw-r-- 1 hadoop hadoop 143082 5月 29 15:31 LICENSE.txt drwxrwxr-x 2 hadoop hadoop 4096 8月 19 19:59 logs/ -rw-rw-r-- 1 hadoop hadoop 42115 5月 29 15:31 NOTICE.txt -rw-r--r-- 1 hadoop hadoop 1477 12月 27 2015 README.txt配置安装路径
修改hadoop用户下.bashrc文件,添加如下:export HBASE_HOME=/usr/local/hbase export PATH=$PATH:$HBASE_HOME/bin:$PATH执行source命令使修改生效:
hadoop@ubuntu16:~$ source .bashrc验证安装是否成功
 hadoop@ubuntu16:~$ hbase version
 HBase 1.2.6
 Source code repository file:///home/busbey/projects/hbase/hbase-assembly/target/hbase-1.2.6 revision=Unknown
 Compiled by busbey on Mon May 29 02:25:32 CDT 2017
 From source with checksum 7e8ce83a648e252758e9dae1fbe779c9
看到以上消息表示hbase成功安装。
HBase单机模式
配置/conf/hbase-env.sh
配置JAVA_HOME和HBASE_MANAGES_ZK两个变量export JAVA_HOME=/home/johnathon/Java/jdk1.8.0_131 export HBASE_MANAGES_ZK=true配置/conf/hbase-site.xml
在启动Hbase前需要设置属性hbase.rootdir,用于指定Hbase数据的存储位置,此处设置为HBase安装目录下的hbase-tmp文件夹即(file:///usr/local/hbase/hbase-tmp),配置如下:<configuration> <property> <name>hbase.rootdir</name> <value>file:///usr/local/hbase/hbase-tmp</value> </property> </configuration>启动HBase
启动之前先jps查看下,这里hadoop已经运行,hbase单机模式可以不开启hadoophadoop@ubuntu16:/usr/local/hbase/conf$ jps 16913 RunJar 14580 NodeManager 18182 Jps 14935 JobHistoryServer 14105 DataNode 14459 ResourceManager 14302 SecondaryNameNode 13951 NameNode使用start-hbase.sh脚本启动hbase
 hadoop@ubuntu16:/usr/local/hbase/conf$ start-hbase.sh
 starting master, logging to /usr/local/hbase/logs/hbase-hadoop-master-ubuntu16.out
再jps查看下,多出个HMaster进程
 hadoop@ubuntu16:/usr/local/hbase/conf$ jps
 16913 RunJar
 18307 HMaster
 14580 NodeManager
 14935 JobHistoryServer
 18615 Jps
 14105 DataNode
 14459 ResourceManager
 14302 SecondaryNameNode
 13951 NameNode
 hadoop@ubuntu16:/usr/local/hbase/conf$ jps | grep HM
 18307 HMaster
进入hbase shell
进入shell模式之后,通过status命令查看运行状态,通过exit退出shellhadoop@ubuntu16:/usr/local/hbase/conf$ hbase shell SLF4J: Class path contains multiple SLF4J bindings. SLF4J: Found binding in [jar:file:/usr/local/hbase/lib/slf4j-log4j12-1.7.5.jar!/org/slf4j/impl/StaticLoggerBinder.class] SLF4J: Found binding in [jar:file:/usr/local/hadoop/share/hadoop/common/lib/slf4j-log4j12-1.7.10.jar!/org/slf4j/impl/StaticLoggerBinder.class] SLF4J: See http://www.slf4j.org/codes.html#multiple_bindings for an explanation. SLF4J: Actual binding is of type [org.slf4j.impl.Log4jLoggerFactory] HBase Shell; enter 'help<RETURN>' for list of supported commands. Type "exit<RETURN>" to leave the HBase Shell Version 1.2.6, rUnknown, Mon May 29 02:25:32 CDT 2017 hbase(main):001:0> status 1 active master, 0 backup masters, 1 servers, 0 dead, 2.0000 average load hbase(main):002:0> exit hadoop@ubuntu16:/usr/local/hbase/conf$停止HBase
 hadoop@ubuntu16:/usr/local/hbase/conf$ stop-hbase.sh
 stopping hbase.................
 hadoop@ubuntu16:/usr/local/hbase/conf$
HBase伪分布式
配置/conf/hbase-env.sh
添加如下export HBASE_CLASSPATH=/usr/local/hadoop/conf配置/conf/hbase-site.xml
修改hbase.rootdir,将其指向localhost(与hdfs的端口保持一致),并指定HBase在HDFS上的存储路径。将属性hbase.cluter.distributed设置为true。假设当前Hadoop集群运行在伪分布式模式下,且NameNode运行在9000端口;<configuration> <property> <name>hbase.rootdir</name> <value>hdfs://localhost:9000/hbase</value> </property> <property> <name>hbase.cluster.distributed</name> <value>true</value> </property> </configuration>启动HBase
启动之前,保证hadoop已经启动,可用jps查看进程hadoop@ubuntu16:/usr/local/hbase/conf$ start-hbase.sh localhost: starting zookeeper, logging to /usr/local/hbase/bin/../logs/hbase-hadoop-zookeeper-ubuntu16.out starting master, logging to /usr/local/hbase/logs/hbase-hadoop-master-ubuntu16.out starting regionserver, logging to /usr/local/hbase/logs/hbase-hadoop-1-regionserver-ubuntu16.outjps查看进程
 hadoop@ubuntu16:/usr/local/hbase/conf$ jps
 16913 RunJar
 14580 NodeManager
 23094 HQuorumPeer
 14935 JobHistoryServer
 23287 HRegionServer
 23160 HMaster
 23880 Jps
 14105 DataNode
 14459 ResourceManager
 14302 SecondaryNameNode
 13951 NameNode
再过滤下,可看出多出如下3个进程
 hadoop@ubuntu16:/usr/local/hbase/conf$ jps | awk '{print $2}'| grep '^H'
 HQuorumPeer
 HRegionServer
 HMaster
进程shell模式
进入shell模式之后,通过list命令查看当前数据库所有表信息,通过create命令创建一个employee表,其拥有employee_id,address,info三个列族,通过describe命令查看employee表结构,通过exit命令退出HBase shell模式。hadoop@ubuntu16:/usr/local/hbase/conf$ hbase shell SLF4J: Class path contains multiple SLF4J bindings. SLF4J: Found binding in [jar:file:/usr/local/hbase/lib/slf4j-log4j12-1.7.5.jar!/org/slf4j/impl/StaticLoggerBinder.class] SLF4J: Found binding in [jar:file:/usr/local/hadoop/share/hadoop/common/lib/slf4j-log4j12-1.7.10.jar!/org/slf4j/impl/StaticLoggerBinder.class] SLF4J: See http://www.slf4j.org/codes.html#multiple_bindings for an explanation. SLF4J: Actual binding is of type [org.slf4j.impl.Log4jLoggerFactory] HBase Shell; enter 'help<RETURN>' for list of supported commands. Type "exit<RETURN>" to leave the HBase Shell Version 1.2.6, rUnknown, Mon May 29 02:25:32 CDT 2017 hbase(main):001:0> create 'employee','employee_id','address','info' 0 row(s) in 1.8040 seconds => Hbase::Table - employee hbase(main):006:0> list TABLE employee 1 row(s) in 0.0080 seconds => ["employee"] hbase(main):007:0> describe 'employee' Table employee is ENABLED employee COLUMN FAMILIES DESCRIPTION {NAME => 'address', BLOOMFILTER => 'ROW', VERSIONS => '1', IN_MEMORY => 'false', KEEP_DELETED_CELLS => 'FALSE', DATA_BLOCK_ENCODING => 'NONE', TTL => 'FOREVER', COMPRESSION => 'NONE', MIN_VERSIONS => '0', BLOCKCACHE => 'true', BLOCKSIZE => '65536', REPLICATION_SCOPE => '0'} {NAME => 'employee_id', BLOOMFILTER => 'ROW', VERSIONS => '1', IN_MEMORY => 'fal se', KEEP_DELETED_CELLS => 'FALSE', DATA_BLOCK_ENCODING => 'NONE', TTL => 'FOREV ER', COMPRESSION => 'NONE', MIN_VERSIONS => '0', BLOCKCACHE => 'true', BLOCKSIZE => '65536', REPLICATION_SCOPE => '0'} {NAME => 'info', BLOOMFILTER => 'ROW', VERSIONS => '1', IN_MEMORY => 'false', KE EP_DELETED_CELLS => 'FALSE', DATA_BLOCK_ENCODING => 'NONE', TTL => 'FOREVER', CO MPRESSION => 'NONE', MIN_VERSIONS => '0', BLOCKCACHE => 'true', BLOCKSIZE => '65 536', REPLICATION_SCOPE => '0'} 3 row(s) in 0.0650 seconds hbase(main):008:0> exit hadoop@ubuntu16:/usr/local/hbase/conf$查看HDFS的HBase数据库文件
通过hdfs dfs –ls /hbase命令查看HBase分布式数据库在HDFS上是否成功创建,/hbase/data/default/employee文件夹即为上一步我们所建立的employee在HDFS上的存储位置。hadoop@ubuntu16:/usr/local/hbase/conf$ hdfs dfs -ls /hbase Found 8 items drwxr-xr-x - hadoop supergroup 0 2017-08-19 21:36 /hbase/.tmp drwxr-xr-x - hadoop supergroup 0 2017-08-19 21:36 /hbase/MasterProcWALs drwxr-xr-x - hadoop supergroup 0 2017-08-19 21:26 /hbase/WALs drwxr-xr-x - hadoop supergroup 0 2017-08-19 21:38 /hbase/archive drwxr-xr-x - hadoop supergroup 0 2017-08-19 21:10 /hbase/data -rw-r--r-- 1 hadoop supergroup 42 2017-08-19 21:10 /hbase/hbase.id -rw-r--r-- 1 hadoop supergroup 7 2017-08-19 21:10 /hbase/hbase.version drwxr-xr-x - hadoop supergroup 0 2017-08-19 21:36 /hbase/oldWALs hadoop@ubuntu16:/usr/local/hbase/conf$ hdfs dfs -ls /hbase/data/default Found 1 items drwxr-xr-x - hadoop supergroup 0 2017-08-19 21:36 /hbase/data/default/employee通过界面查看相关信息
主机ip:50070查看hdfs信息,如下图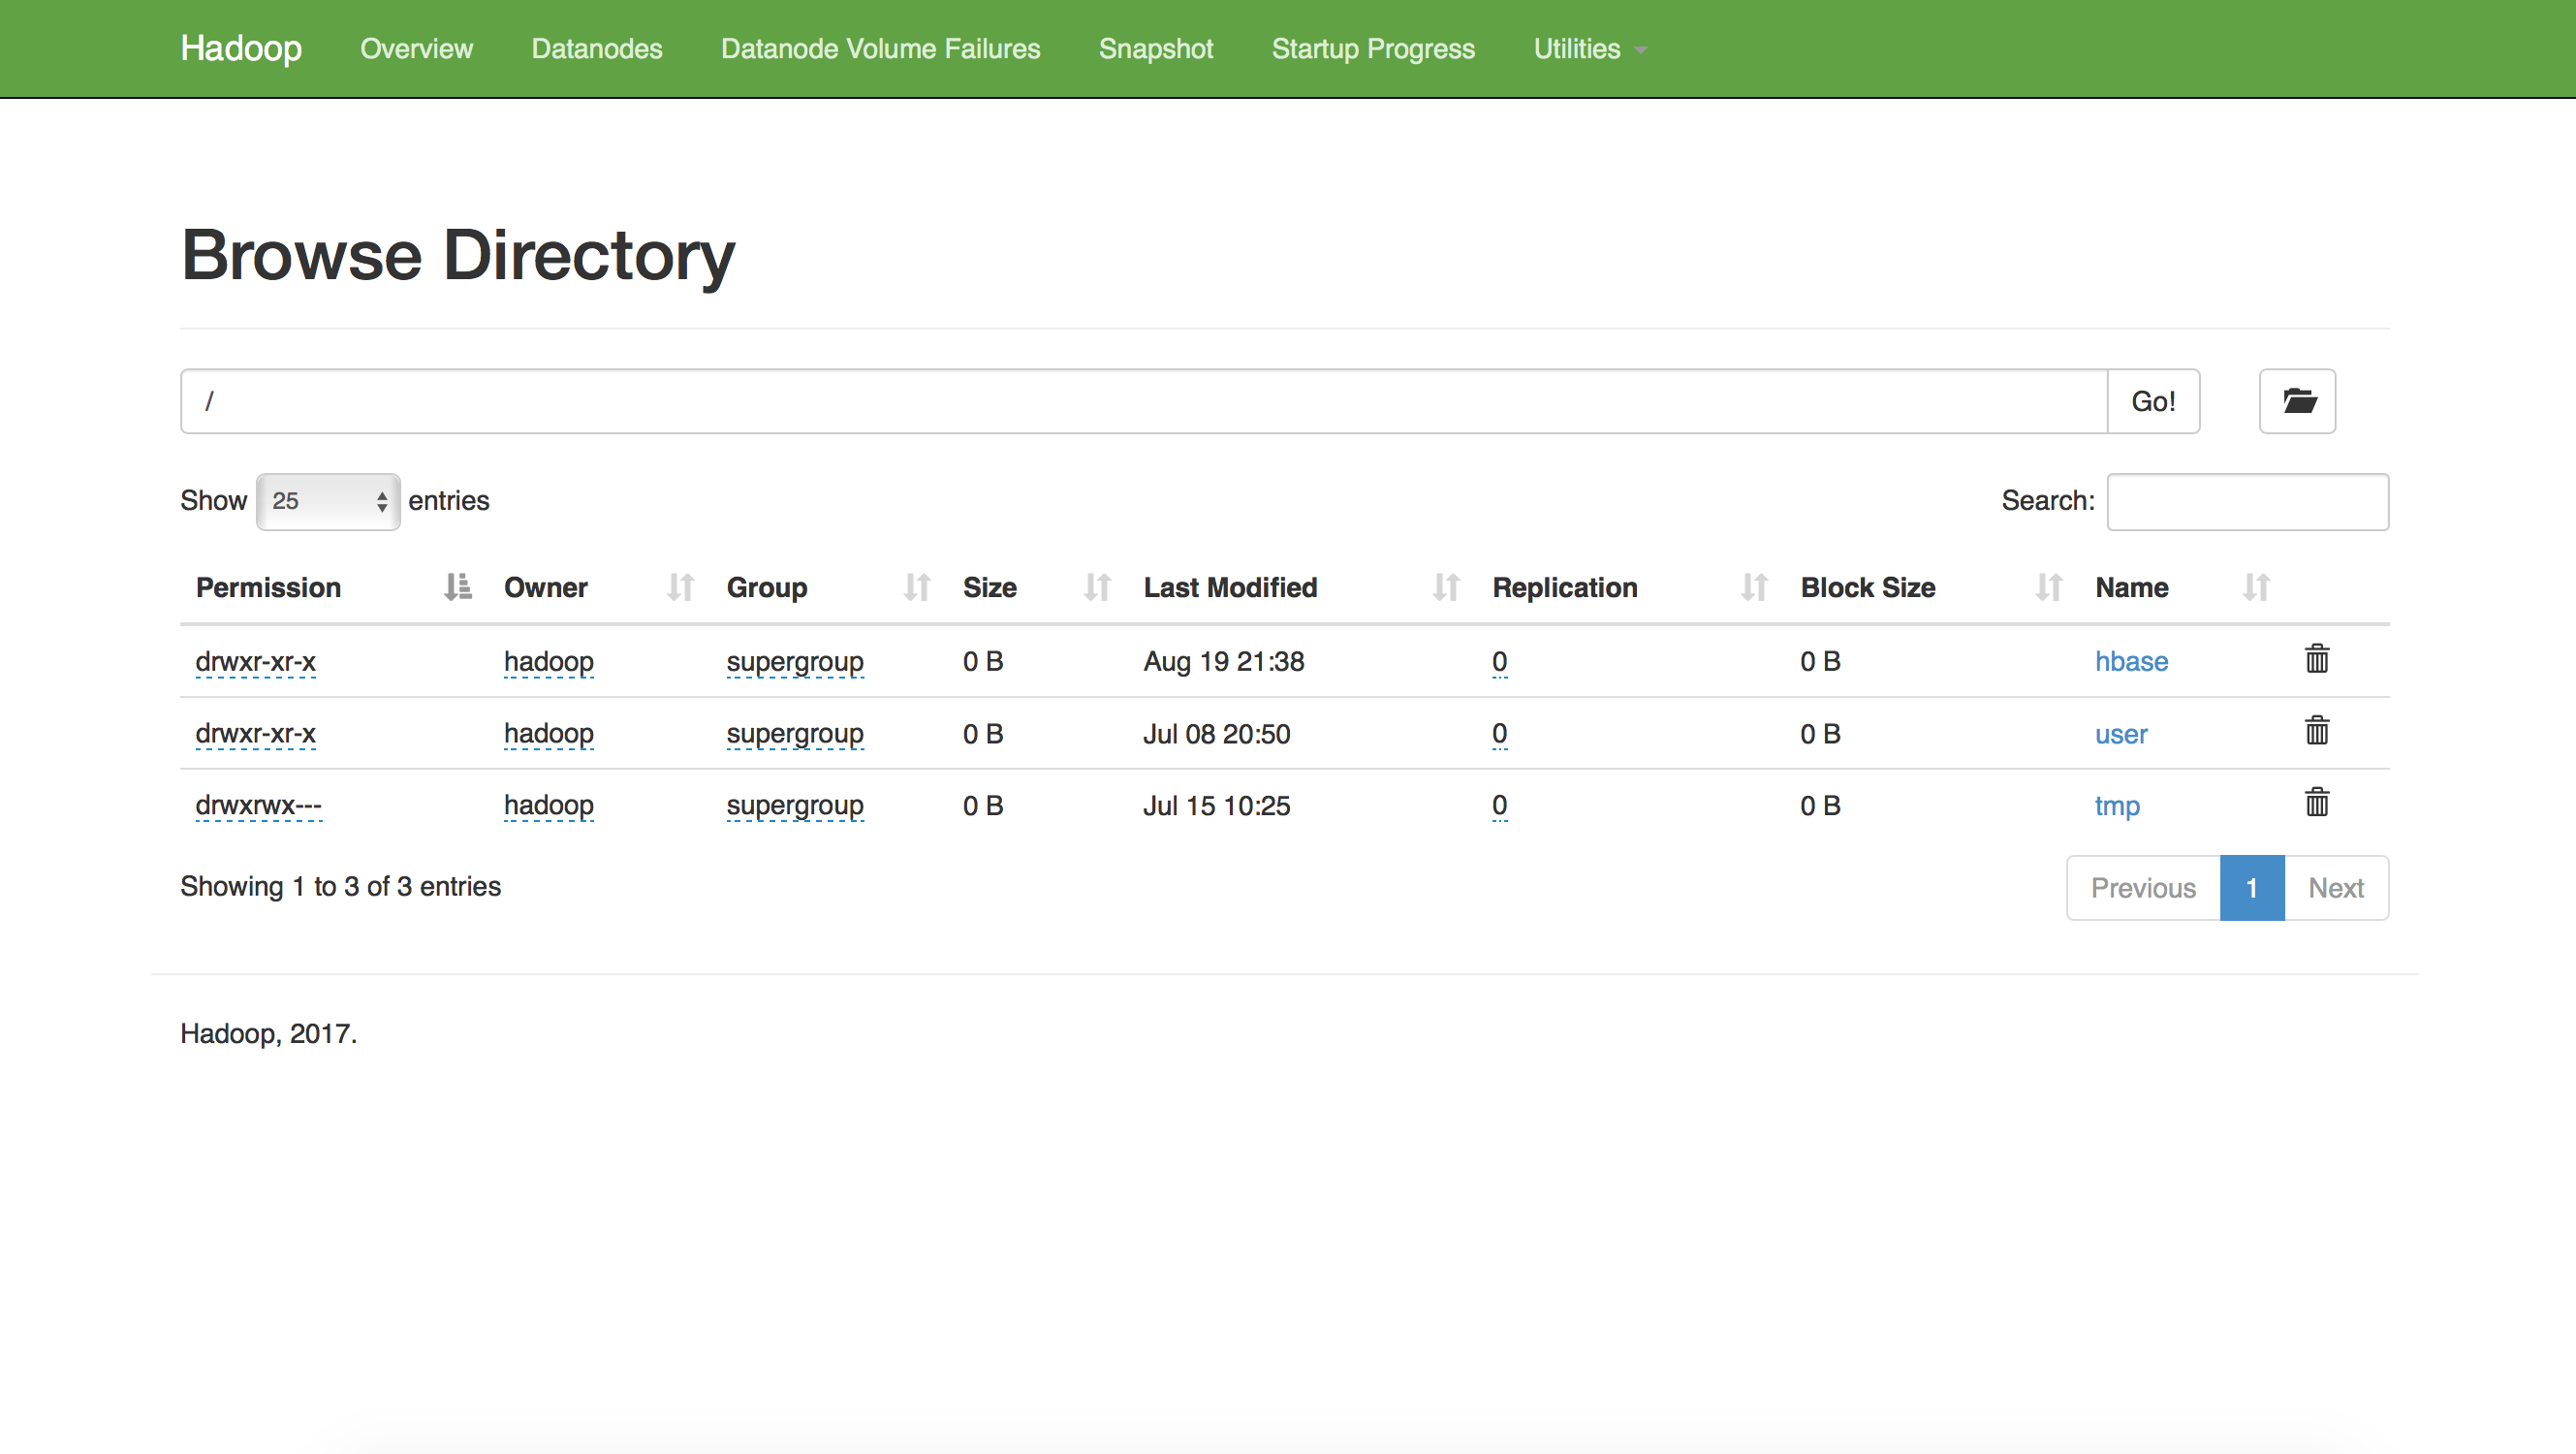 主机ip:16010查看hbase相关新,如下图

停止HBase
 hadoop@ubuntu16:/usr/local/hbase/conf$ stop-hbase.sh
 stopping hbase...................
 localhost: stopping zookeeper.
 hadoop@ubuntu16:/usr/local/hbase/conf$